 Download Manual (PDF)
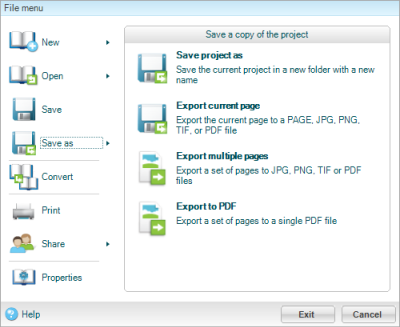
The Save option saves any changes to your current file (project or page) under the current name. The Save As option on the File menu changes based on whether you are working with a project or a page.

If you are working with a page, the options are slightly different:

| Option | Explanation |
|---|---|
| Saves the current project or page (depending on what you are working with) under a new name and location you specify. | |
| Exports the current page as your choice of PAGE, JPG, PNG, TIF, or PDF file. If working with a page, it exports it as a PDF. | |
| Export Multiple Pages | Exports multiple pages as individual PAGE, JPG, PNG, TIF or PDF files. |
| Export to PDF | Exports multiple pages from a project or a single PDF. |
In addition to the Save options available in the Project section, the software auto-saves your project whenever you switch between pages.
Note: You must have auto-save enabled in the User Settings dialog box. To learn more, refer to Adjusting User Settings.
To save a project with its current file name, perform one of the following:
Clicking Save on the toolbar.

OR
Click the File drop-down menu and select Save.
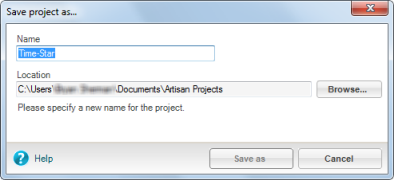
Use Save Project As when you want to save a copy of your project with a new file name. To use Save Project As, perform the following steps:

Note: You are now working in your new project and not the original file.
Use Save As when you want to save a copy of your page with a new file name. To use Save As, perform the following steps:
Note: You are now working in your new project and not the original file.
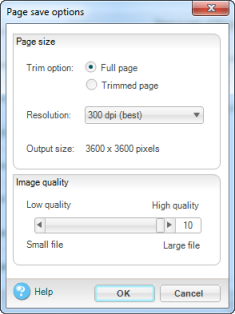
You can export a single page from a project. You can save it as an Artisan Page file, JPG, PNG, TIFF, or PDF.


| Option | Explanation |
|---|---|
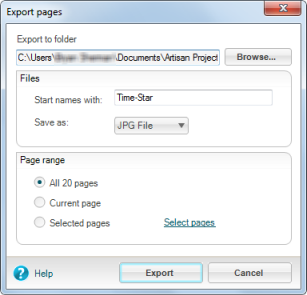
| Export to folder | Select a location in which to save your pages. To change click browse and select a new location. |
| Start names with | Enter the text to start the names with. Each file will have a number added to the page. |
| Save as | Choose a file type for your pages. Pages can be output as graphic files (TIFF, JPG, and PNG) or as a PDF file. |
| Page Range | Choose the page range you wish to save individually. You can choose All, Current, or Select. If you choose select, another dialog box appears to allow you to select the pages. |
You can export a single to a PDF.

| Copyright © 2010 Panstoria, Inc.. All rights reserved. |