 Download Manual (PDF)
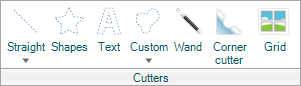
The Wand option selects like objects within your selection. The wand cutter is only available in advanced mode.
Tip: You can use the Wand tool to make custom fancy text. To learn more, refer to Creating Cutout Text.
To use the Wand Cutter, perform the following steps:

Note: You may be prompted to flatten the item. To flatten the item, click Flatten on the Layout ribbon.
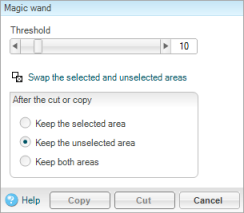
| Option | Explanation |
|---|---|
| Swap the shaded and unshaded sections | This option flips the shaded area covering the element to the opposite half. |
| Keep the shaded section | Keeps the shaded section, and removes the unshaded. |
| Keep the unshaded section | Keeps the unshaded section, and removes the shaded. |
| Keep both sections | Keeps both sections. |
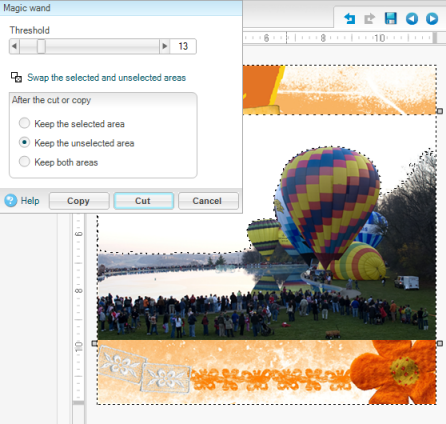
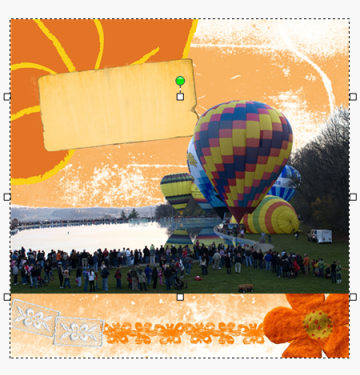
In this example, we applied the Wand Cutter to remove the background of the photo using Erase the selected area.
| Copyright © 2010 Panstoria, Inc.. All rights reserved. |