Download Manual (PDF)
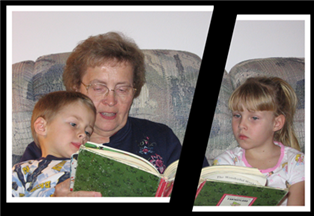
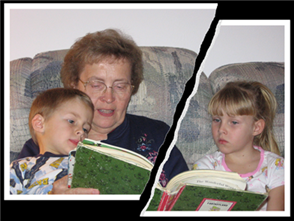
The straight cutter lets you make a straight cut across an object. You can also choose the style of the edge.
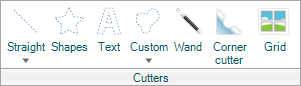
To use the Straight Cutter, perform the following steps:

Note: You may be prompted to flatten the item. To flatten the item, click Flatten on the Layout ribbon.
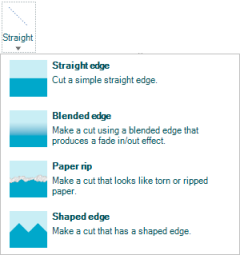
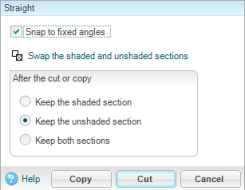
Note: The options in each dialog may differ slightly, based on the edge chosen.
| Option | Explanation |
|---|---|
| Swap the shaded and unshaded sections |
This option flips the shaded area covering the element to the opposite half. |
| Keep the shaded section |
Keeps the shaded section, and removes the unshaded. |
| Keep the unshaded section | Keeps the unshaded section, and removes the shaded. |
| Keep both sections |
Keeps both sections. |
Tip: It is often hard to see a straight cut as the element does not move. Look for your slices in the Elements panel.
| Copyright © 2010 Panstoria, Inc.. All rights reserved. |
 View examples of each straight cut.