 Download Manual (PDF)
Using the Custom Cutter you can create your own shape or trace around an existing item. The custom cutter is only available in advanced mode.
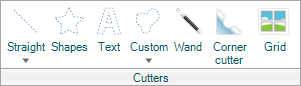
To use the Custom Cutter, perform the following steps:
Note: You may be prompted to flatten the item. To flatten the item, click Flatten on the Layout ribbon.
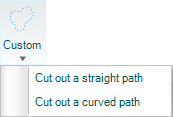
Tip: A path differs from a line. On a path, you can edit the placement of individual points.

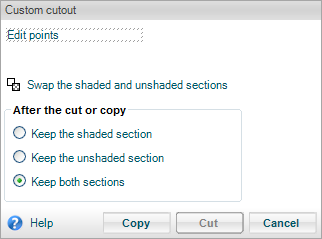
| Option | Explanation |
|---|---|
| Swap the shaded and unshaded sections | This option flips the shaded area covering the element to the opposite half. |
| Keep the shaded section | Keeps the shaded section, and removes the unshaded. |
| Keep the unshaded section | Keeps the unshaded section, and removes the shaded. |
| Keep both sections | Keeps both sections. |

| Copyright © 2010 Panstoria, Inc.. All rights reserved. |